Pages

Showing posts with label Crochet. Show all posts

Sunday, August 11, 2013

Learning to crochet, changing colors.


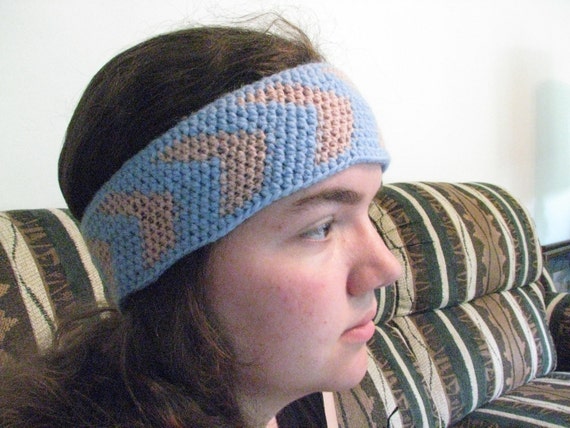
While working on a crocheting project you might find you would like to change the colors in the middle of the work, either to add a strip of color or a pattern. As an example lets say you are making something with the single crochet stitch and in the middle of the row you want to change your yarn from red to blue.
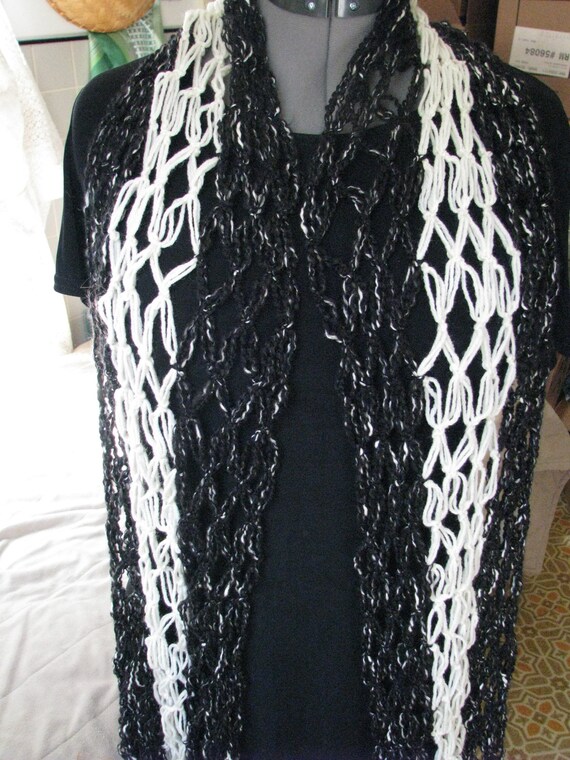
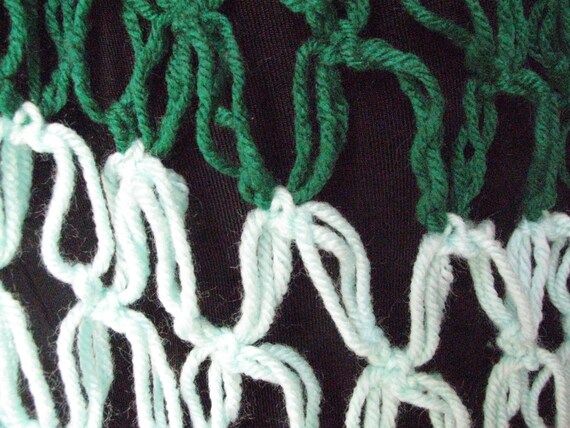
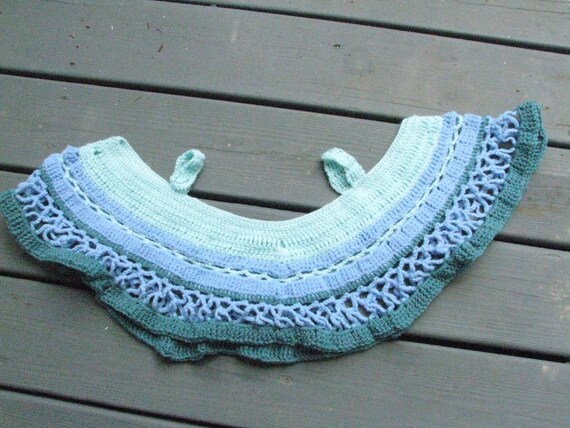
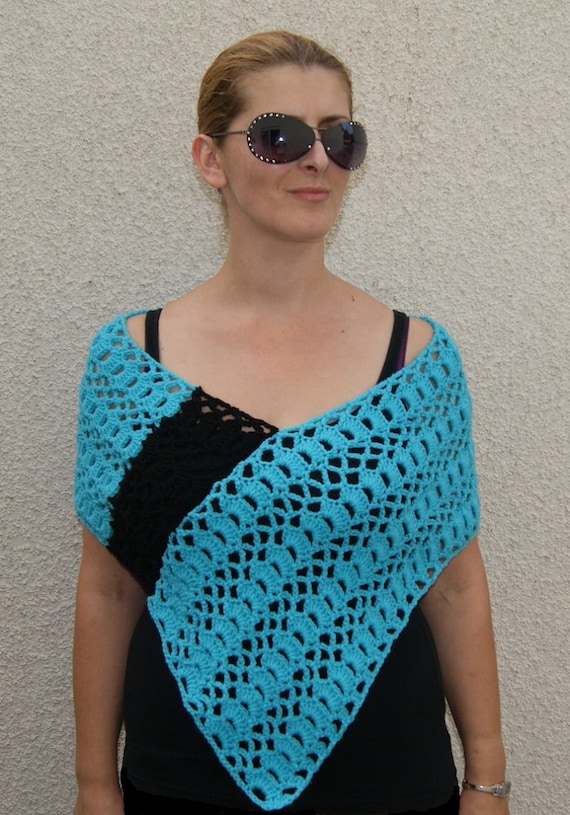
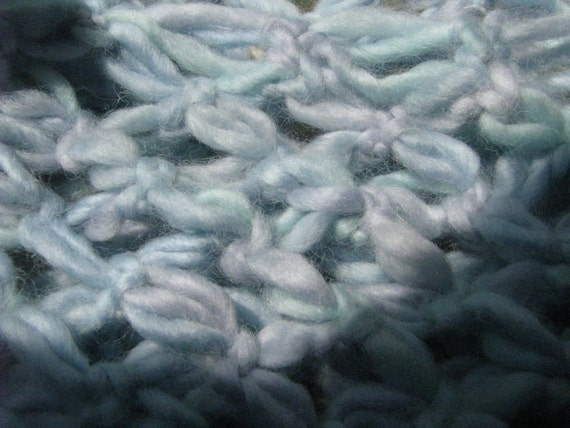
Can also be found here in etsy.
  • Finish the single crochet stitch of red so that you only have one loop on your hook.
  • Let go of the red yarn that you were working on and pick up that new blue yarn that you want to change to.
  • Poke your hook through the next stitch like you would have normally, but instead of grabbing the old red yarn, grab the new blue yarn and pull it through the stitch as your new loop.
  • You can go a head an cut the old yarn off. Make sure to leave a tail. You will want to weave this tail into the rest of the red crocheting so that it can't be seen
  • Now that you have the new color on the loop go a head and start crocheting with the new color as if nothing had happened. Be careful to also leave a tail for the new blue color for you to weave in otherwise your work will start to undo itself.
This weaving in of the tails is also something that you will need to know when it comes to finishing a project. To weave in a tail you poke the hook through a stitch near where the tail comes out, and pull the tail of yarn through it then you just continue sewing the extra piece of yarn through the other stitches. It would be better for you if you did this in the yarn that is the same color as the tail so that it doesn't look like a random strip of color running through your work. When sewing/weaving the tail in it would be better if you sewed it through the top of the stitches of the row that it just can from because its more noticeable when you jump rows while sewing/weaving.

If you would like to see my article about this on examiner.com click here. Sometimes I put a video on examiner.com that helps with my instructions so if this doesn't make sense jump over to examiner to see the video and hopefully that will help you.

Learning to crochet, the single crochet.

Can be found here in etsy.com

The next level up from the slip stitch in crocheting is the single crochet. The abbreviation for the single crochet when reading a pattern is sc, but we won't be messing with that this time. Once you start doing patterns you will need to know the abbreviation to be able to understand the pattern. A good thing to keep handy when doing a pattern is a key/index of all the common stitches, because even if you learn all the stitches knowing which abbreviation goes with which stitch can be hard sometimes.
When using the single crochet to make something you will usually get a thicker and stiffer piece of fabric. It is a really good stitch for making a washcloth or table-runner out of, but it isn't usually so great for making a scarf or blanket, since you would usually want something softer for those projects. It is also the stitch you would use for if you wanted to crochet a basket or stiff bag.
The things you will need to do this stitch are one crochet hook, yarn, time, and a pair of hands.
  • To start the single crochet you are going to need a base of either chains or a row of some other crochet stitch. If you don't have any of that yet go a head and try chaining ten chains to get us started.
  • Now that you have ten chains chain one more time. So now you have eleven chains.
  • Poke your hook through the second chain from the hook and grab the yarn.
  • Pull the yarn through the chain. Now you should have two loops on your chain. One of them coming from the chain, and the other from being pulled through the chain.
  • Now that your hook has these two loops on it grab the yarn one more time with the hook, and pull it through both loops on the hook leaving only the new loop that you just grabbed on the hook.
  • Congratulations you just did a single crochet stitch. Repeat what you did all the way down the chain and you will have finished your first single crochet row. To do the next row chain 1, turn the work and start doing the same thing all over again, only this time on the top of the single crochet not the chains.
As a small pointer for your future adventures in crocheting when doing crochet you can sometimes start to get confused about how many times you should be chaining when you reach the end of a row. This holds especially true for when you are working without a pattern. When using a pattern you are usually told how many chains to chain at each end of a row unless the pattern is faulty.
To say it very simply slip stitches you don't chain any from row to row. For single crochet you chain one, half double crochet chain 2, double crochet chain 3, triple crochet chain 4, double triple crochet chain 5 and so on.
Another way for you to think of it is that you chain one chain for every-time that you pull yarn through two other loops, and then add one more. This pointer may not always prove right but then again there is no real rule of thumb when doing crochet.

If you would like to see my article about this on examiner.com click here. Sometimes I put a video on examiner.com that helps with my instructions so if this doesn't make sense jump over to examiner to see the video and hopefully that will help you.

Saturday, August 10, 2013

Learning to crochet step three the slip stitch

Etsy.com

Now that you have gotten the hang of pulling the yarn through the loop to make a chain you are probably looking for the next step. Well here it is. The next level up in crocheting would be the slip stitch. Don't get it confused with the slip knot that you started with. This stitch is used mostly for connecting projects, or finishing a row while making a granny square, or working in the round.
  • Before we get started with this stitch you are going to need to have a chain. Go a head and chain ten to get us started.
  • Now that you have your chain base take your hook and poke it through the second chain from the hook. Some people have different parts of the chain that they like to use, but for the sake of just doing the slip stitch it probably doesn't matter for you right now. Just make sure you're consistent.
  • Grab the yarn from the other side and pull it through the chain, and then the loop you already had on your hook.
  • Now go a head and repeat all the way down the chain and you will have made yourself your first row of slip stitches.
Admittedly it won't look like you've done much once you've finished but that is how you do the slip stitch. This stitch is a necessity for many patterns so make sure you know about it when you get started with a project. You can also use the slip stitch to sneak your way around a project if needed, but that's probably a bit advanced for beginners.

If you would like to see my article about this on examiner.com click here. Sometimes I put a video on examiner.com that helps with my instructions so if this doesn't make sense jump over to examiner to see the video and hopefully that will help you.

Friday, August 9, 2013

Learning to crochet step two, chaining

Shawl can be found here in etsy.
Once you have figured out how to make a slip knot without making a tangled mess the next step on the road towards crocheting is the chain. This stitch is the ground-floor for every crochet pattern that you could ever start. Without it there would be no such thing as crochet.
  • To start you will need one crochet hook, yarn, and a pair of hands. With the yarn and the pair of hands, make yourself a slip knot. Put the slip knot on the crochet hook and tighten it a bit. You don't want it too tight otherwise you won't be able to work with it. Remember you can always loosen it by pulling on the tail of the yarn.
  • Next hold the crochet hook with the slip knot in your dominant hand, and with your other hand wrap the yarn around your fingers for tension, and pinch the knot with your middle finger and thumb. There are actually a lot of different ways that the hook and yarn can be held, but try holding it like this for now unless you find a better way.
  • Wrap the hook around the yarn and pull the yarn through the slip knot on the hook. Pull on the yarn to tighten things a bit if its needed.
  • Now just repeat and you should soon have a chain. Remember to keep the slip knot and the growing chain pinched so that you can tighten it as you work.
That is how you do that chain. True its easier said or written then done, but once you get the feel for how the steps are suppose to flow you won't even think of them as steps anymore and things will start going faster.

 If you would like to see my article about this on examiner.com click here. Sometimes I put a video on examiner.com that helps with my instructions so if this doesn't make sense jump over to examiner to see the video and hopefully that will help you.

Thursday, August 8, 2013

Simple Way to Make a Crocheted Poncho

Poncho and photo by Madebyfate. To find more by her click on link to go to her etsy store.
Are you tired of crocheting the same old scarfs and blankets? Would you like to try a new looking pattern but haven't yet mastered the fancier stitches? Well here is a pattern for a simple yet elegant looking poncho that you don't need any fancy stitches for. This pattern is just about the same amount of work to finish as a baby blanket, but if you use looser and longer stitches it can go a lot faster.

    The first part is to chose a stitch that you would like to make the poncho out of. It would be suggested that you use a larger stitch like the triple or the double triple crochet stitch. This way your poncho won't be stiff and the work will go faster. You can also chose a fancier stitch if you wish. Just make sure that the beginning and the ending of the stitch that you use is straight. (Be sure not to use a zig-zag or ripple stitch unless you know a way to end it straight.)
    Now measure how far down your arms you want the poncho to go. Be careful not to chew off more then you can handle. You don't want to get stuck on a monster project that you don't have the concentration to finish.
    Once you have how long you want it to be, chain a chain as long as the measurement. Turn, and start crocheting down the chain with the stitch of your choice.
    It might make things more interesting if you changed the colors now and then because you have a lot of crocheting to do. The point of this is to get a long rectangle of your work.
    When you have a rectangle long enough you should be able to fold the crocheting so that the end of the side that your working on can meet with the “side” of the other end. Remember we are not making a circle of crocheting. When folded the poncho should have a corner where the front of the poncho would be.
    Check to see how big the poncho would be every now and then by folding it this way and when you think that it has grown big enough for the person who will be wearing it finish it off.
    Now fold it so that the finished end meets with the “side” of the beginning. Start slip-stitching it together. Finish it off again. Tuck in all yarn ends that are hanging out and you are done!

If you would like to see my article about this on examiner.com click here. Sometimes I put a video on examiner.com that helps with my instructions so if this doesn't make sense jump over to examiner to see the video and hopefully that will help you.

Tuesday, August 6, 2013

Learning to Crochet Step 1: Slip Knot


Are you trying to learn how to start crocheting? Well here is the article that will tell you how from the very basics. Before we even start the part called crocheting we will need to tell/show you how to make a slip knot. The slip knot is call this for its handy way of being able to slip, and even undo itself when put under pressure. This knot is the way most people start crocheting the chain stitch, and many other basic stitches for other crafts thanks to its adjustable nature.
  • The first thing you need to do to start the slip knot is to have the yarn in your hand. With the yarn you want to make a loop so that the yarn crosses itself.
  • Now take the end of the yarn that connects to the yarn ball or skein that you have and pull it through the loop.
  • To tighten pull on the side of the string that leads to the knot.
  • If done right you should now have a slip knot. Be careful not to pull too much yarn through the loop otherwise you will have a loopy mess that will be hard to make a knot out of.
Scarf from Etsy.com
Now if you were to pull on the tail of the yarn and the end of the yarn attached to the skein at the same time the loop will shrink, and eventually the knot will undo itself. This knot will be handy to know for almost any yarn or thread craft that you can learn, so even if you don't plan on learning crocheting, but maybe some other craft this knot is a must know for you to have in your knowledge base.
The next step for crocheting is the chain stitch. Once you get used to this next stitch you might start to get the feeling that making a chain is like making a really extended slip knot.

If you would like to see my article about this on examiner.com click here. Sometimes I put a video on examiner.com that helps with my instructions so if this doesn't make sense jump over to examiner to see the video and hopefully that will help you.