 |
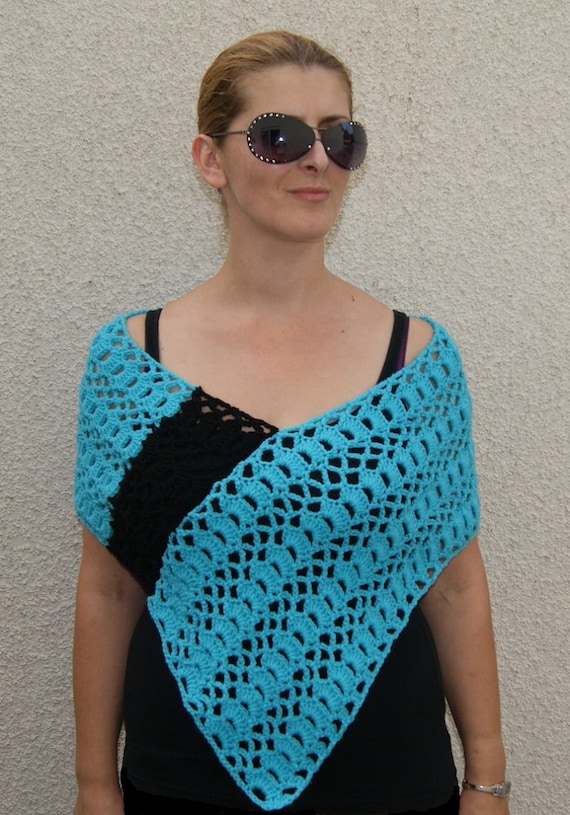
| Poncho and photo by Madebyfate. To find more by her click on link to go to her etsy store. |
The first part is to chose a stitch that you would like to make the poncho out of. It would be suggested that you use a larger stitch like the triple or the double triple crochet stitch. This way your poncho won't be stiff and the work will go faster. You can also chose a fancier stitch if you wish. Just make sure that the beginning and the ending of the stitch that you use is straight. (Be sure not to use a zig-zag or ripple stitch unless you know a way to end it straight.)
Now measure how far down your arms you want the poncho to go. Be careful not to chew off more then you can handle. You don't want to get stuck on a monster project that you don't have the concentration to finish.
Once you have how long you want it to be, chain a chain as long as the measurement. Turn, and start crocheting down the chain with the stitch of your choice.
It might make things more interesting if you changed the colors now and then because you have a lot of crocheting to do. The point of this is to get a long rectangle of your work.
When you have a rectangle long enough you should be able to fold the crocheting so that the end of the side that your working on can meet with the “side” of the other end. Remember we are not making a circle of crocheting. When folded the poncho should have a corner where the front of the poncho would be.
Check to see how big the poncho would be every now and then by folding it this way and when you think that it has grown big enough for the person who will be wearing it finish it off.
Now fold it so that the finished end meets with the “side” of the beginning. Start slip-stitching it together. Finish it off again. Tuck in all yarn ends that are hanging out and you are done!
If you would like to see my article about this on examiner.com click here. Sometimes I put a video on examiner.com that helps with my instructions so if this doesn't make sense jump over to examiner to see the video and hopefully that will help you.
No comments:
Post a Comment